- Developers
- Professional Navigation for Fleets
- Licensing
- BP User Guide
BP User Guide
Sygic Business Portal (BP) is your gateway to managing projects, orders and seats (licences) for Sygic Professional Navigation. Projects keep licences for different clients (accounts) separate, all under your main account (Organization).
Orders and licences are allocated by the Sygic team during the purchase process, after which they become available for use. You can then manage them through actions such as activation, deactivation, reactivation, and extension.
Create account
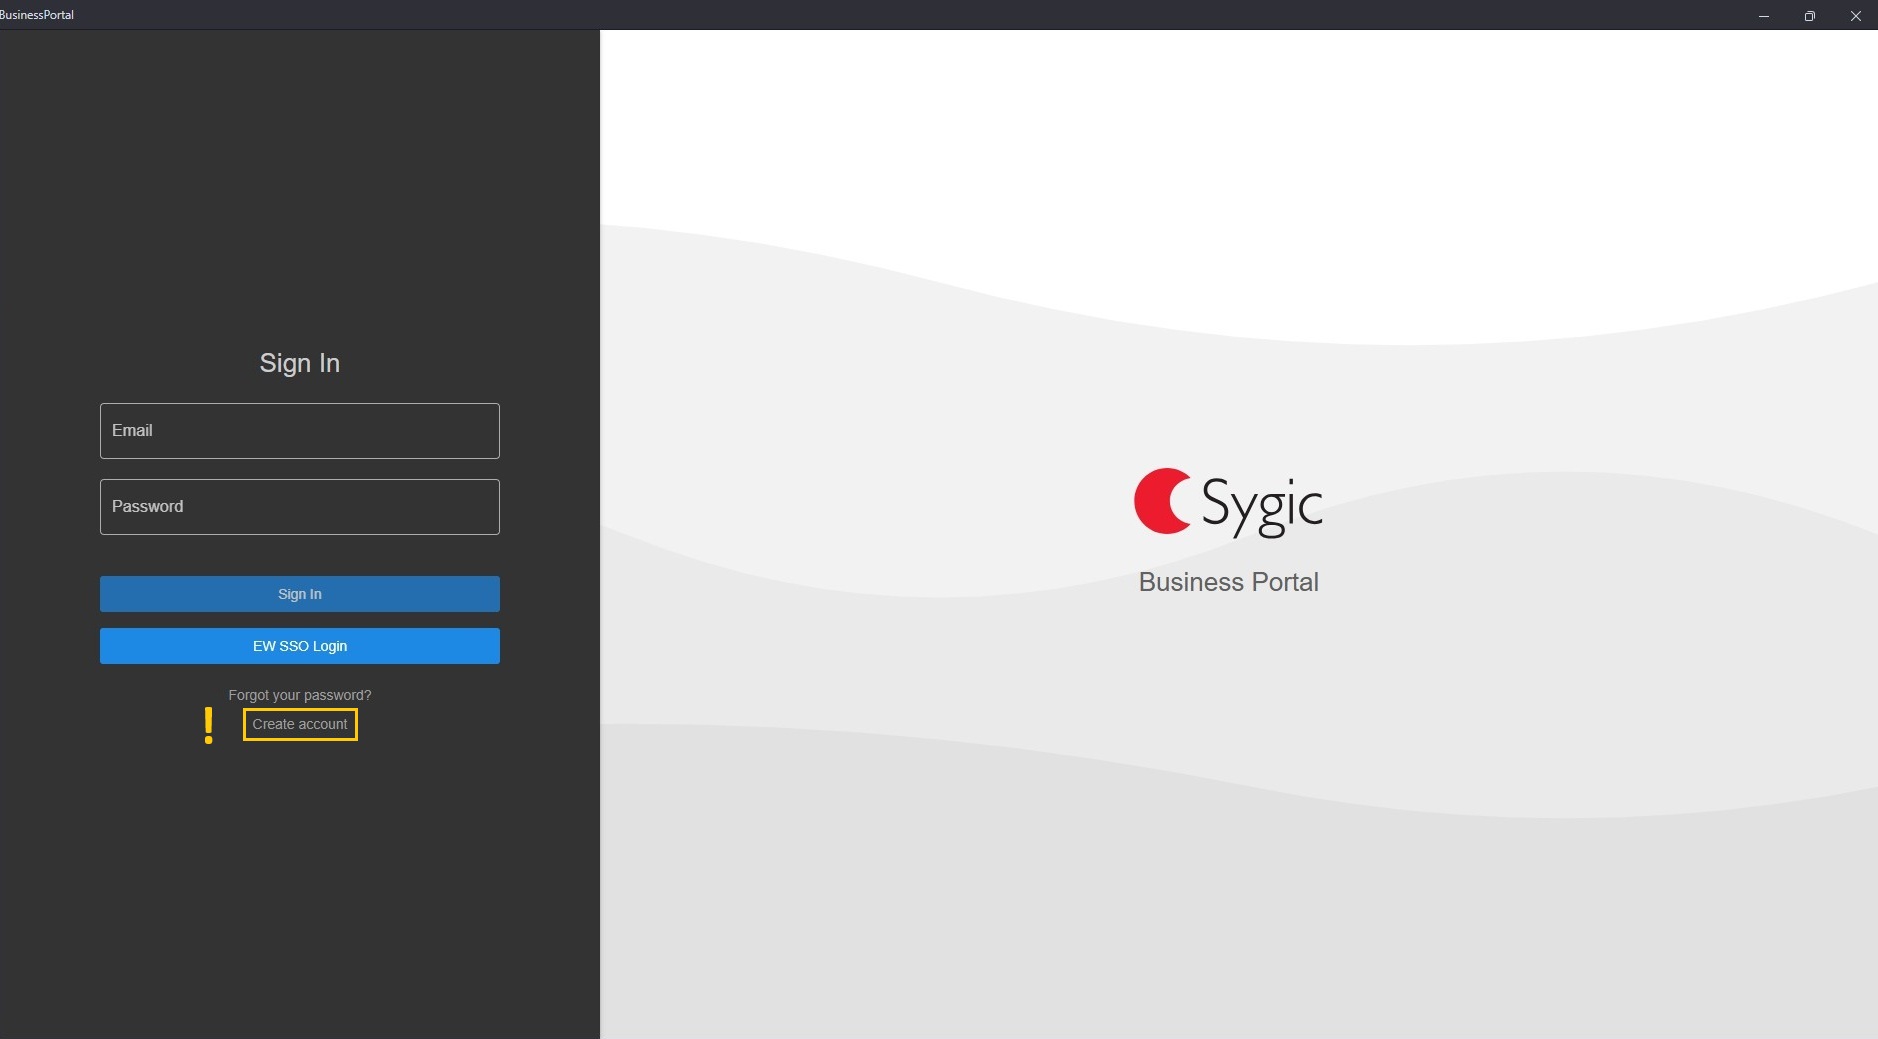
Visiting BP for the first time? You likely don’t have an account or login credentials yet. Simply click the “Create account” button on the Welcome page and sign up.
Welcome page
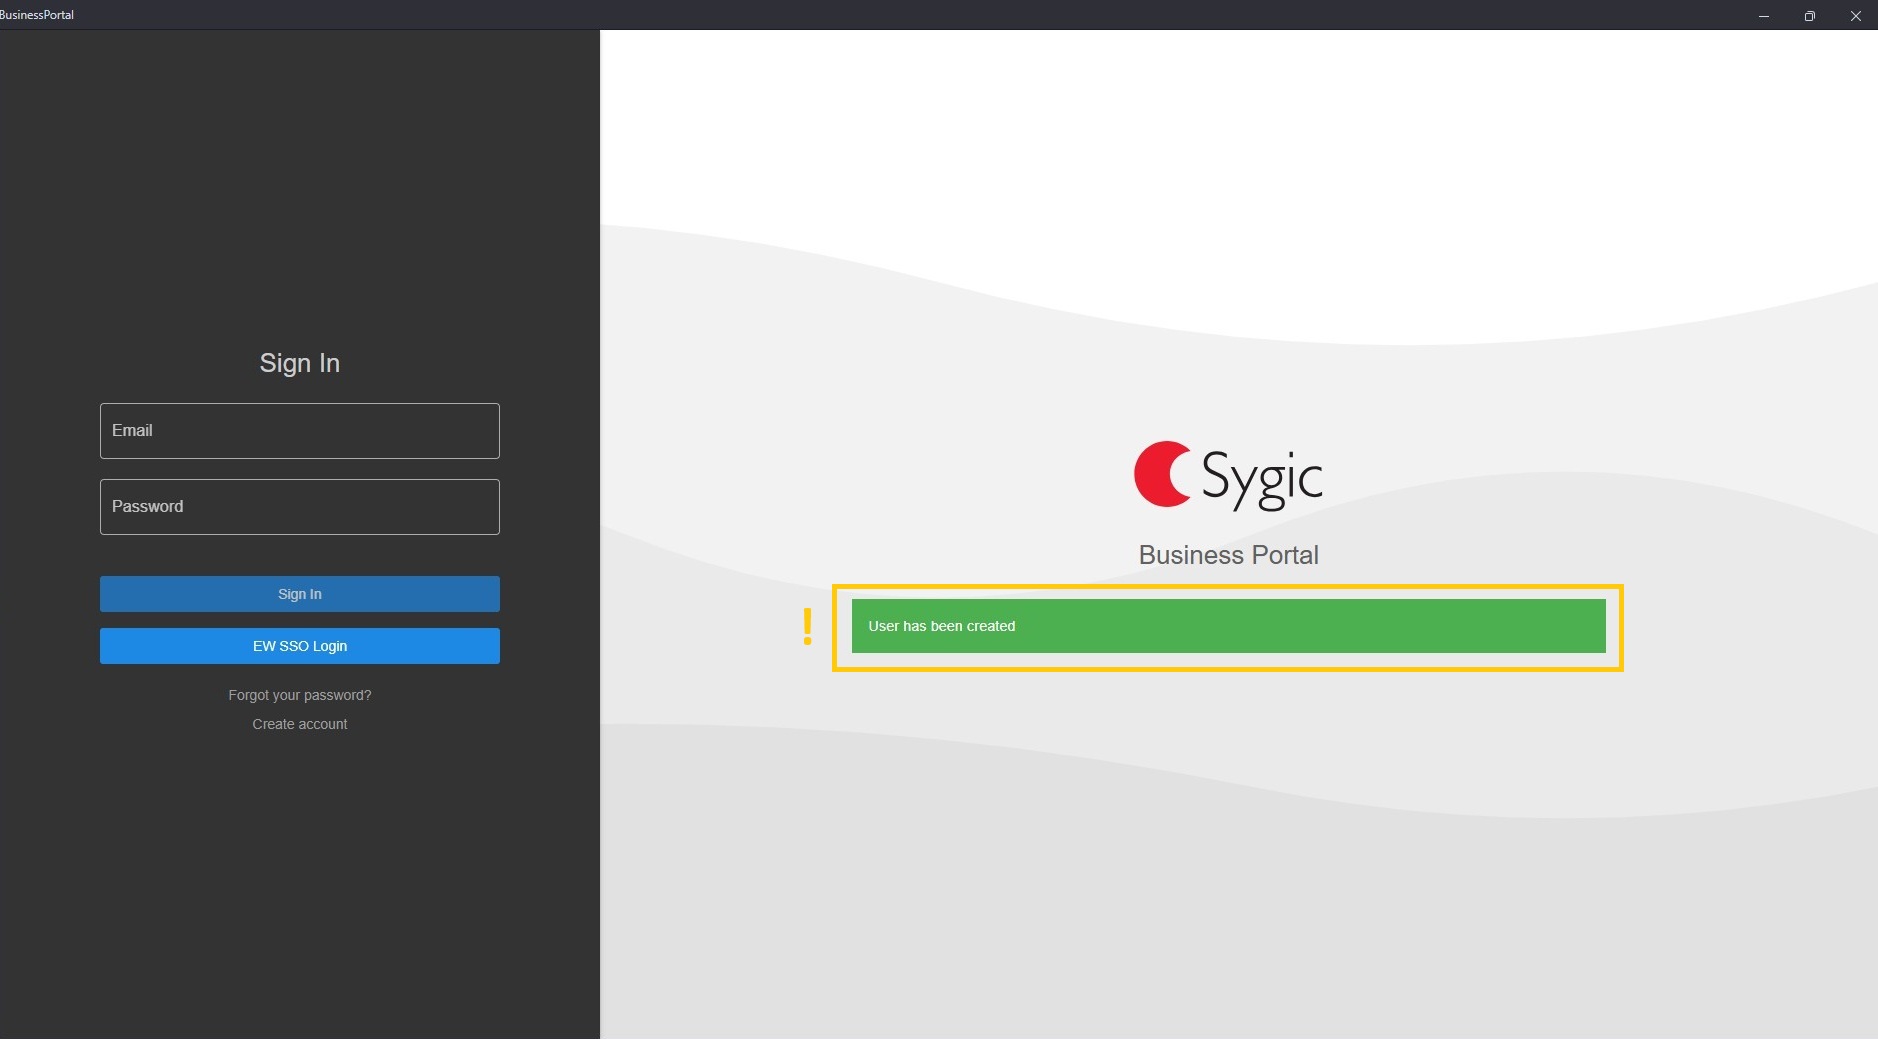
Sign up

Success message
Login
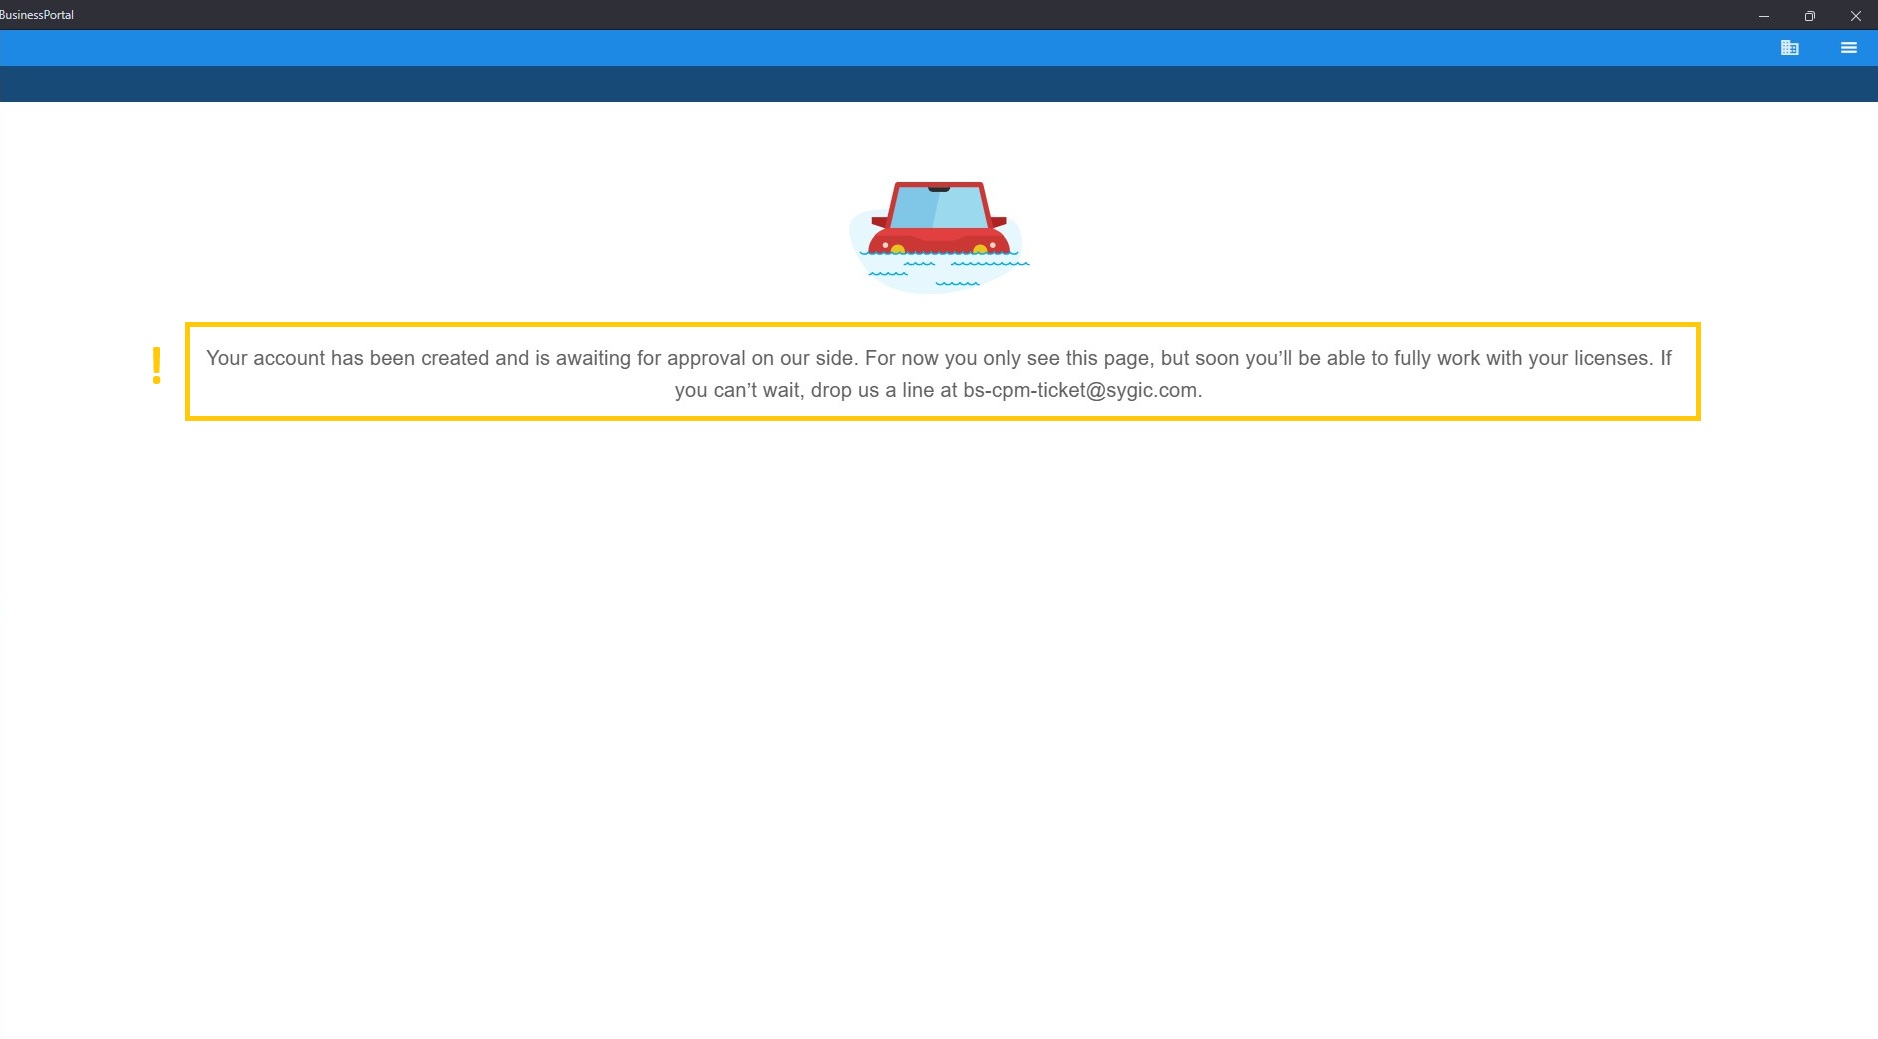
First login
After creating your account, it will be pending approval and assignment to your Organization. We are automatically notified about new accounts, so no further action is required on your side. Once the verification is complete, you can start managing your projects and seats.
Subsequent Logins
Right after your account has been associated with your Organization, you will see your Organizations, Projects, Orders and Seats (Licenses).

BP structure
BP is structured as a hierarchy of Organizations and Projects. The Organization acts as the main umbrella entity, managing multiple Projects.
Organizations
The Organization is the main entity managing multiple Projects. Projects can represent different customers or internal use cases, helping you keep environments like testing and production clearly separated.

Projects
Projects are accounts that hold orders and seats for a specific customer - typically an end customer or for different internal use-cases.
Use cases:
- Managing multiple customers: Are you reselling Sygic Professional Navigation and working with several customers? Create a separate Project for each customer to keep things organized.
- Separating testing and production: Are you testing Sygic in new regions or with new features and want to keep testing seats separate from production? Create a dedicated Project for this internal use case.
Orders
Orders are purchases of specific products. Every project has its own orders with corresponding product offers, seats, creation and expiration.
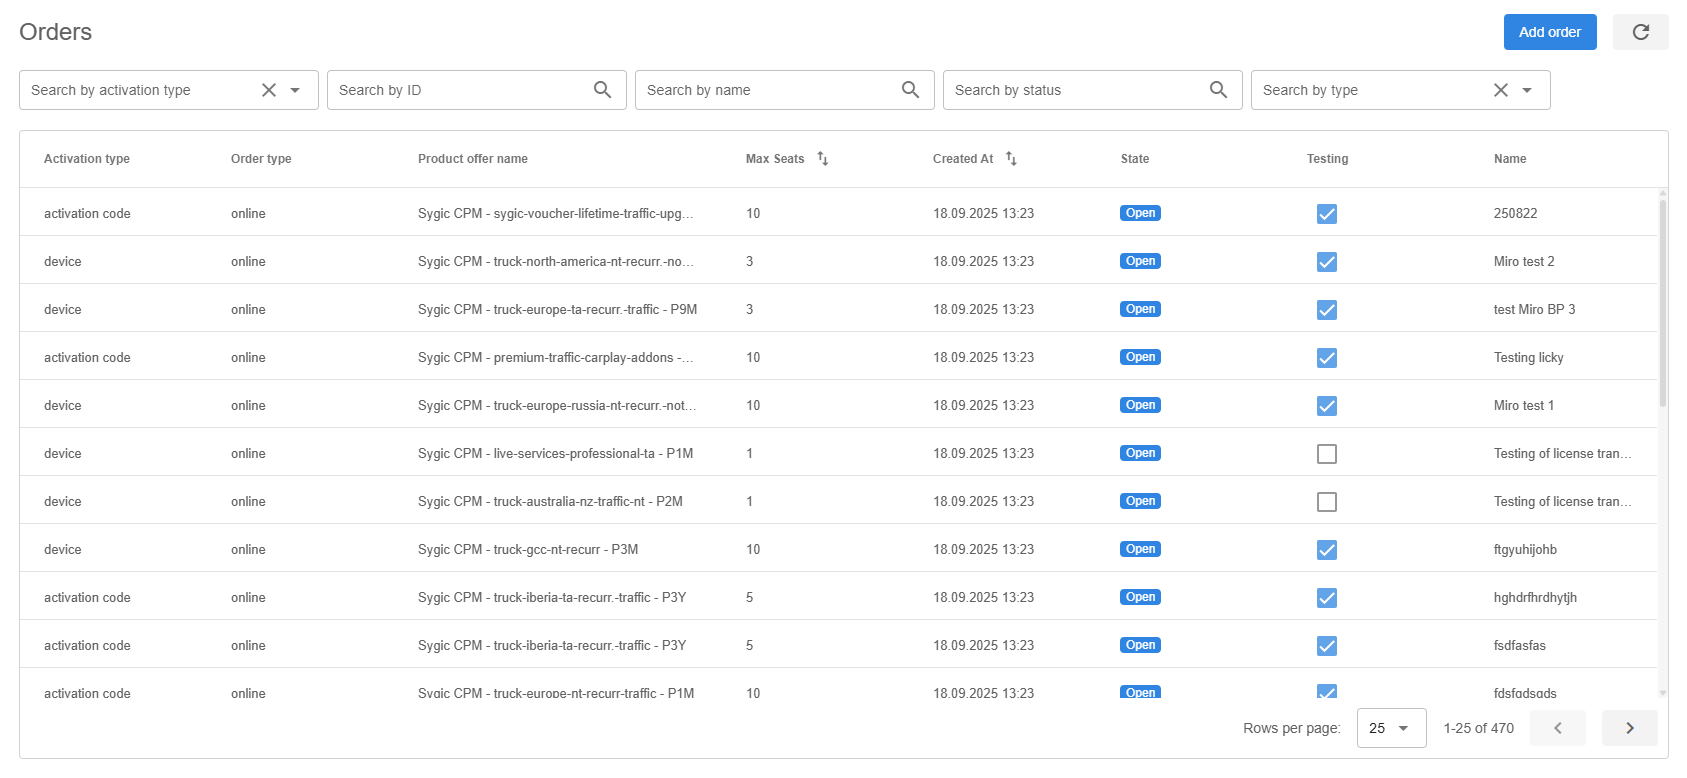
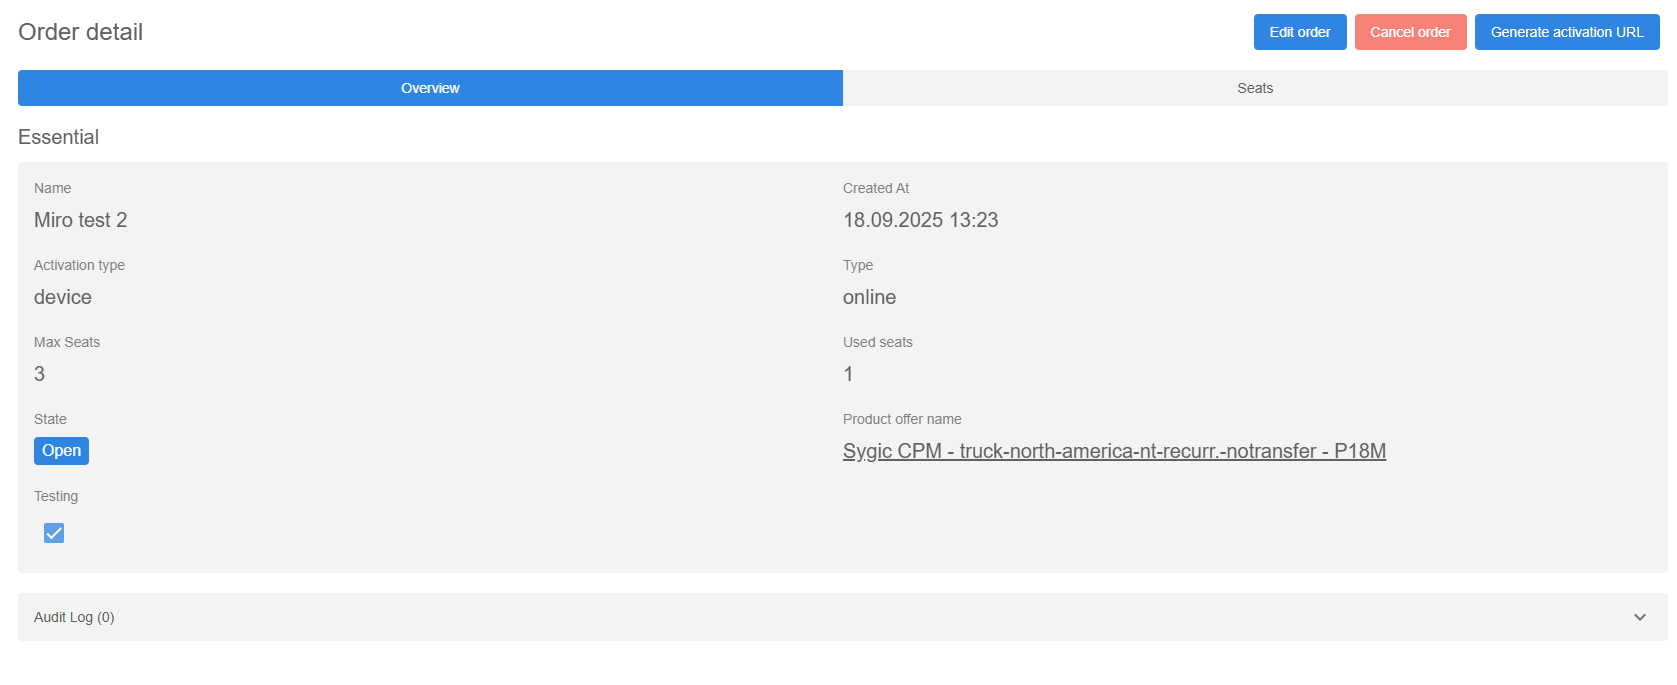
Selecting an order opens up its details. There you are able to see its name, type of activation, maximum and available seats, status and creation date.
Seats
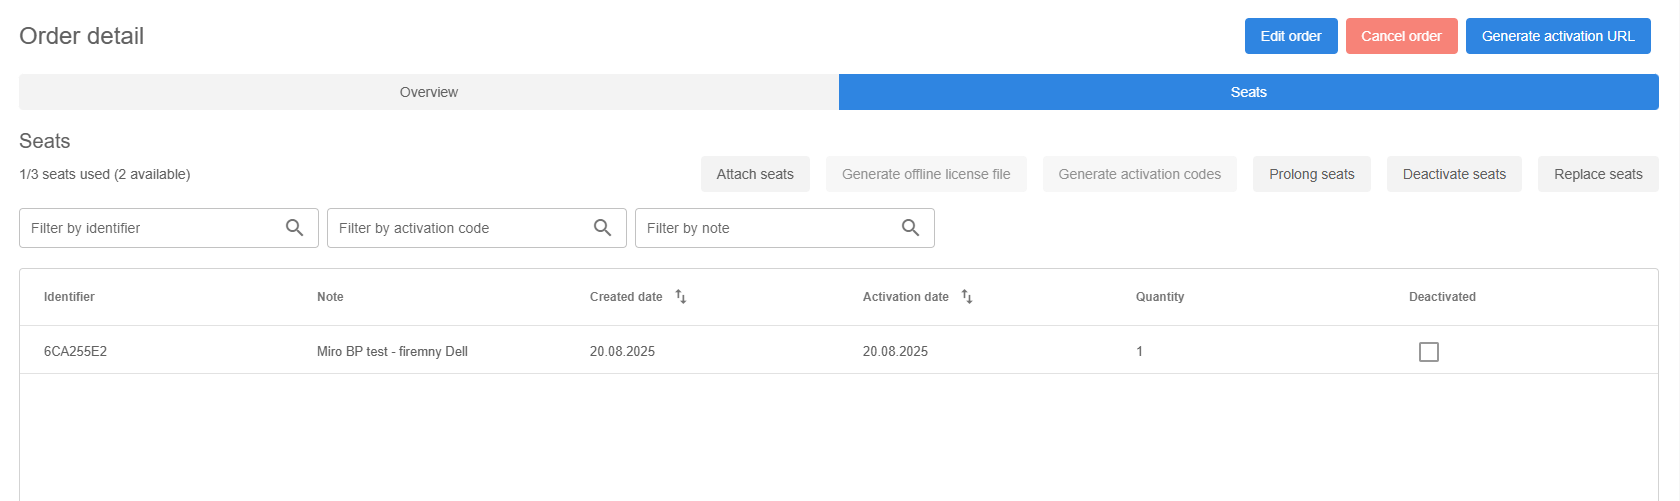
Selecting the seats tab opens up the details of currently used seats. The details include the identifier to which is tied to the seat, note (optional), creation and activation time, quantity and deactivation check.
Attaching a seat
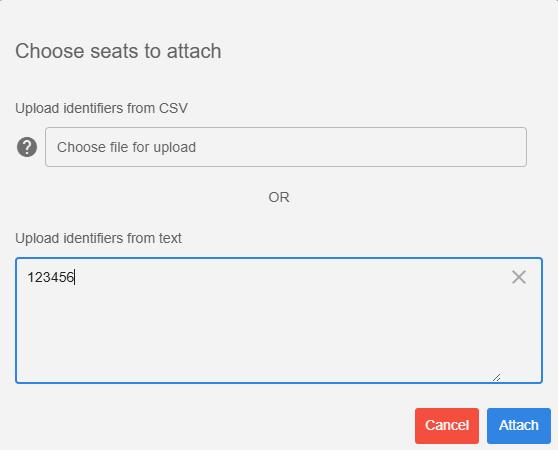
Selecting "Attach seat" while in seats view will bring up a menu where you are able to add the desired identifiers. Each identifier needs to be on a separate line, without any blank space between them. Selecting "Attach" with the identifiers uploaded to the menu will attach them to the available seats.
Prolonging a seat
You are able to prolong a currently active seat in order for it not to expire by selecting the "Prolong seats" button while in seats view.
As with seat activation, the identifier of a currently active seat needs to be put in, with each identifier being on a separate line, without any blank space between them. Prolonging a seat will result in preemptively activating a new seat, which will become fully active once the original seat expires. There is no downtime between the expiry and new activation - the seat is switched automatically without any interruptions to the user.

Deactivating a seat
Active seats can be deactivated by selecting the "Deactivate seats" button while in seats view.

As with seat activation and prolongation, the identifier of a currently active seat needs to be put in, with each identifier being on a separate line, without any blank space between them. Deactivating a seat will result in switching off a currently active seat into the deactivated status. Such seat is then used first when activating a new one, while keeping its original expiration date.

Password Reset
Forgot your password? No problem. Click the “Forgot your password?” option on the Welcome screen, enter your email address, and we’ll send you a reset link to set a new password.
